Warning ! working on your own car is dangerous and all parts listed below are not guaranteed to work on your case so do your homework. this is just a guide of what I did to remedy a problem and how I was able to trouble shoot and resolve my issue as inexpensively as possible.
First off this is the horrible noise my car was making from this bearing being bad,
It was pretty easy to deduce what was the issue, or at least narrow it down. Turn the cabin temperature all the way down and cycle the a/c button ( AC on no noise and AC off, video above). At this point I knew it was AC compressor, AC clutch or pulley related .
I read around on some sites and found that this bearing from autozone fits (MT2021) for $23 and the one from napa was $80 and it was worth trying as the whole pulley assembly from onlinemazdaparts was $205 but you do not need a press for this option, but we will get to that later.
pop your new bearing in the freezer just for good measure the night before you plan on doing this and I used a press to remove and install the bearing, I have no idea if it can be done without one ( thats why I listed the whole pulley assembly from www.onlinemazdaparts.com if you are unable to get the pulley and bearing apart.
- Apply the E-brake, jack the fron of car up, support on jack stands, disconnect negative battery terminal.... all that safety stuff to properly work on and be safe while working on your car.

- Remove the front passenger side wheel
- Remove the serpentine belt
- Remove the two bolts and plastic retainer that mount the inner splash guard ( above brake caliper in picture on )

- Remove the inner fender to bumper plastic retainer

- Remove the bolts holding the front splash guard and inner fender to the car and move as much of it out of the way to get to the pulley

- Use a screw driver to stop the pulley from turning against the 10mm socket and loosen bolt
- Unscrew bolt and work / slide the clutch assembly out ( be careful there are two very small spacer in this clutch that you need for reassembly and spacing for all of this to work right)

- Use a pair of OD retaining ring pliers to remove the pulley and bearing from the AC shaft

- Use a press, I have a imported inexpensive ( harbor freight quality) 12 ton hydraulic press and fully supported the ring on the underside of the pulley assembly and pressed the old one out and cleaned up the surfaces and pressed the new one in
Reassembly steps are just the opposite of the removal, my speed3 is sounding great and the whole process was fairly quick. Hope you have as good as results and its not the whole compressor, hence why i was willing to try the 23 dollar bearing first if you look up how much a new AC compressor is
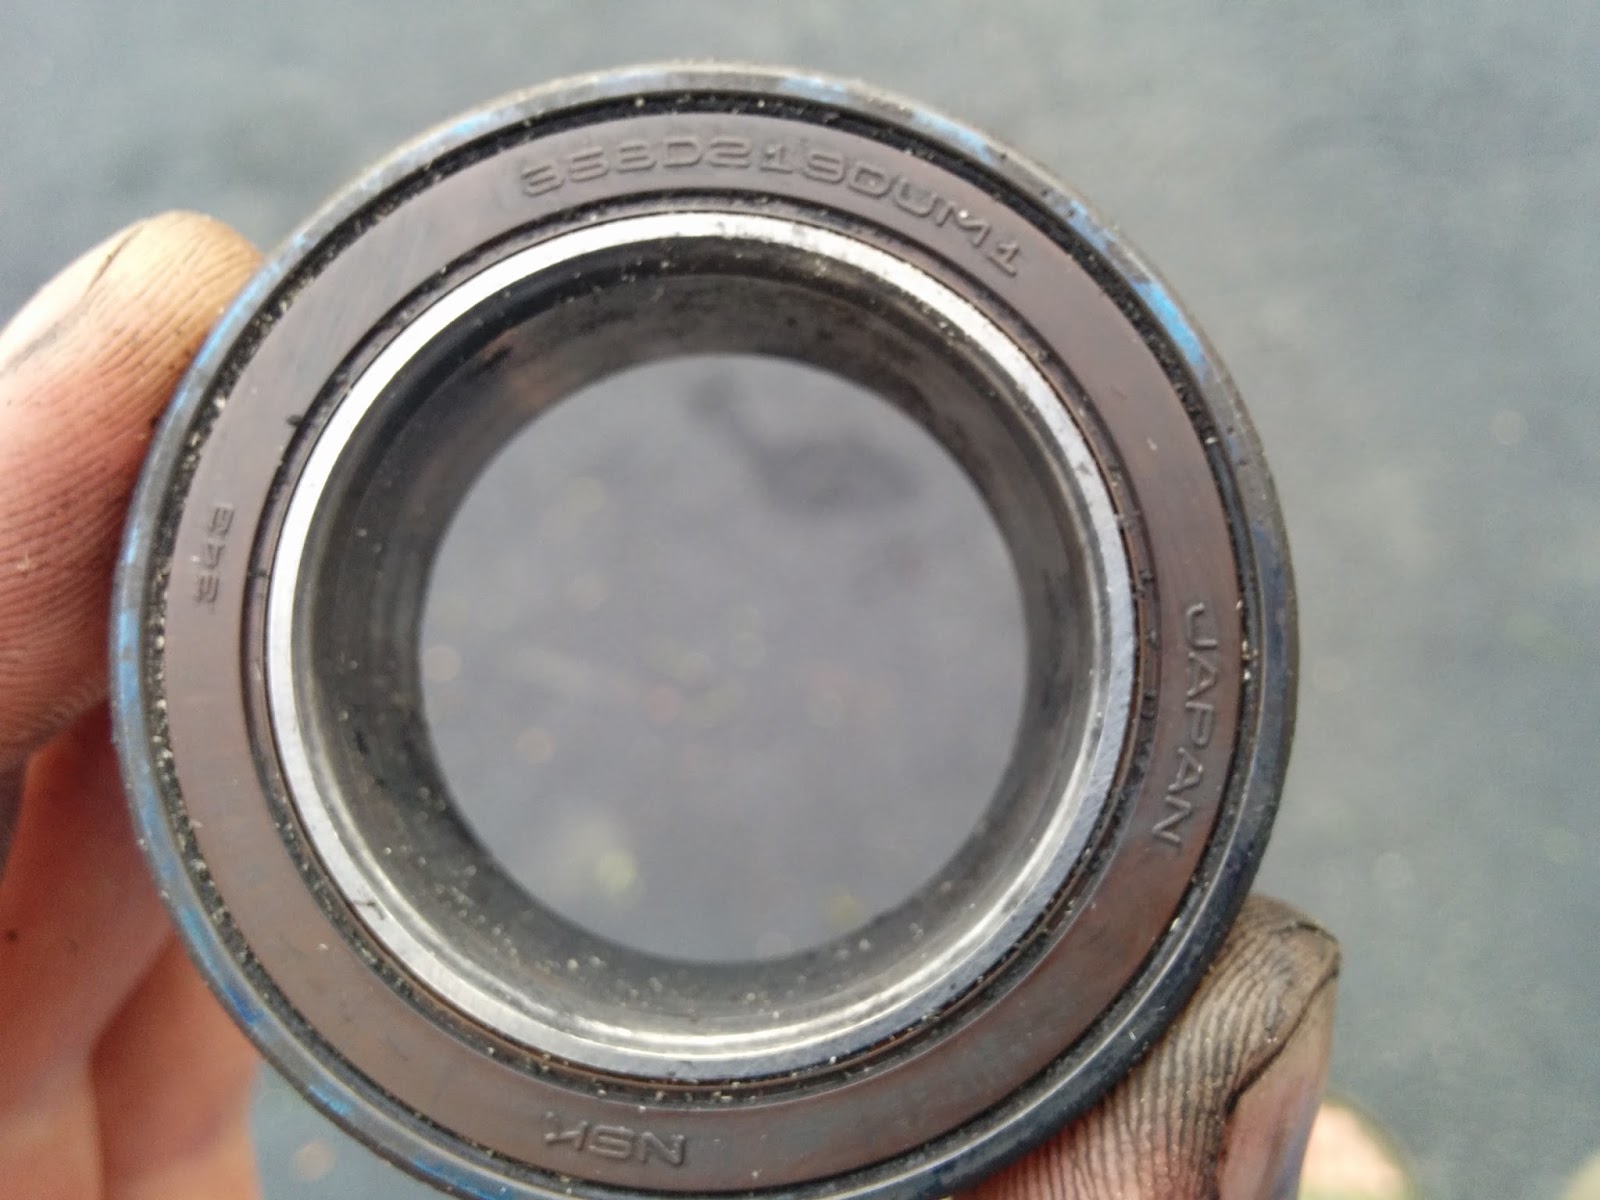
- Couple of pictures of the removed bearings for reference if anyone wants to look up and get the original

Thank you for reading and happy motoring.
+1 reproduced. I had the exact same issue, and followed these steps successfully. $23 bearing from Autozone, and $20 to have mechanic swap it in the pulley. Thank you so much for the post!!
ReplyDeleteX
ReplyDeleteHello, did your ac work even with the rattle? My car has a similar sound but the AC doesn’t blow any cold air.
ReplyDelete